Beginner's Guide to Growing Heather in Pots

Heathers have a reputation for being difficult. The usual story goes like this: a plant goes in, looks lovely for a season, then turns brown from the middle out and never recovers. Nine times out of ten the problem is the soil rather than the gardener. Heathers are acid lovers, and most garden soil is not.
Growing them in containers flips that around. You choose the compost, so you control the acidity. You decide how much water arrives and when. You can move a pot into shade during a heatwave or tuck it against a warm wall for winter. Container growing suits heathers rather well, and it lets you keep half a dozen different varieties on a patio where a proper heather bed would never fit.
Start With the Right Kind of Heather
Not all heathers behave the same way in a pot, and the biggest difference is when they flower. Knowing which one you have makes everything else easier, from watering to pruning.
- Winter heather (Erica carnea) flowers from December to April in shades of pink, white and deep rose. It is the most forgiving of the group and tolerates a little lime, though it still prefers acid compost.
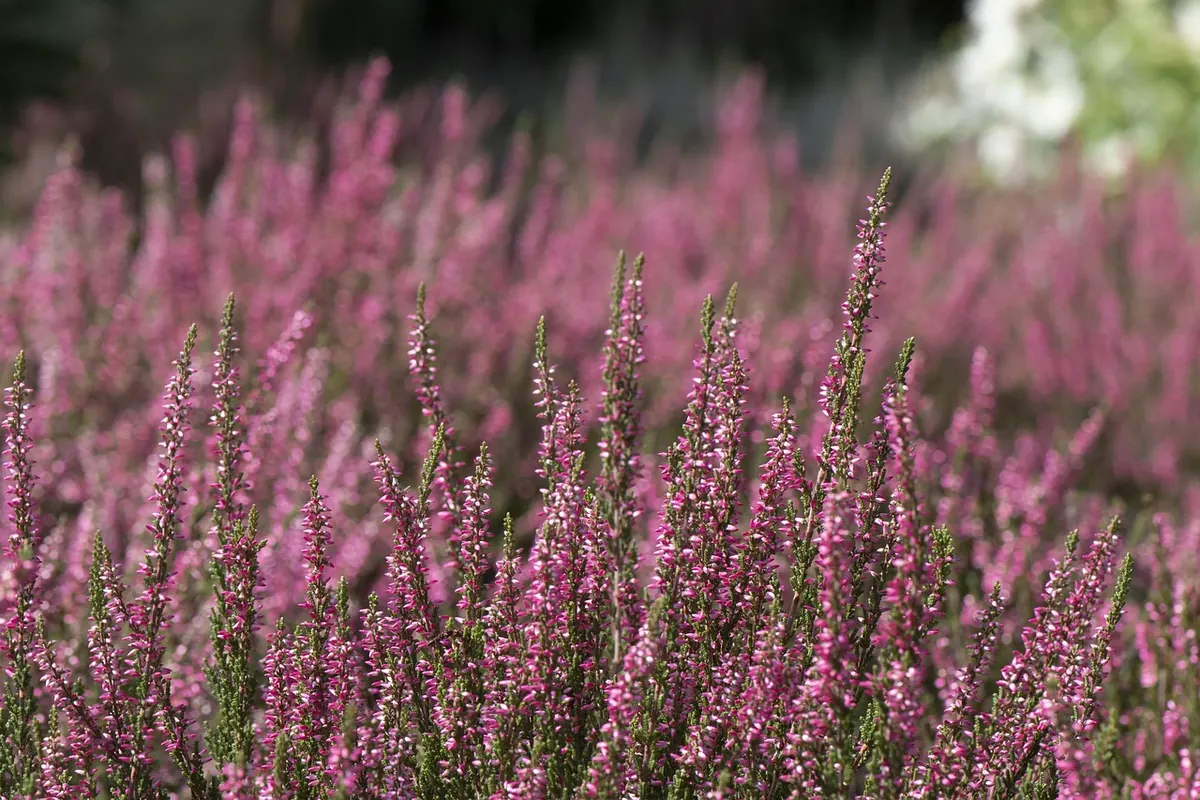
- Scotch heather (Calluna vulgaris) is the classic summer and autumn flowering heather, with dozens of named cultivars in purple, crimson, white and even gold foliage. It is the most demanding about acidity.
- Bell heather (Erica cinerea) flowers in midsummer with vivid magenta bells. Compact and neat, but it hates being dry at the roots.
- Irish heath (Daboecia cantabrica) flowers for months from early summer, with larger bells than the others. Slightly less hardy, so worth a sheltered spot.
For a first attempt, buy winter heather or a named Calluna from a garden centre in early spring. Both are widely available and give you a clear result within a season.
Choosing a Container
Heathers have shallow, fibrous roots that spread sideways rather than plunging down. A wide, fairly shallow pot suits them far better than a tall narrow one. A single plant will be happy in a container around 30cm across; three planted together look better in a 40cm bowl or half barrel.
Drainage is non-negotiable. Check that there are holes in the base and add a layer of broken crocks or coarse bark so they do not clog with compost. Standing the pot on feet or bricks keeps the base clear and stops worms and slugs moving in from below.
Terracotta looks good but cracks when it is wet and freezes, so in cold districts choose glazed ceramic, frost-proof stone or a good plastic pot. Plastic has an advantage in a dry summer too: it holds moisture for longer, which matters when a plant has only a few litres of compost to live in.
Ericaceous Compost Is the One Thing You Cannot Skip
Use an ericaceous compost and nothing else. Ordinary multi-purpose compost is usually close to neutral and often contains lime, which will slowly push the pH up until the leaves turn yellow and the plant gives up. Peat-free ericaceous mixes are widely sold now and work well, as do John Innes ericaceous blends if you prefer something heavier.
Never fill the pot with garden soil, and skip manure, mushroom compost or anything that has been near a lime-rich heap. A mulch of bark fines, pine needles or leafmould around the base of the plant helps hold moisture and keeps the surface acidic.
Watering Without Drowning It
In a pot, heathers are far less drought-tolerant than the same plant in open ground. The compost should stay consistently moist but never sit in water. That balance is easier to strike than it sounds.
- Push a finger in to the second knuckle before watering. If it feels damp, wait.
- Lift the pot. A light pot needs water, a heavy one usually does not.
- Water until it runs out of the drainage holes, then empty the saucer.
- In hot weather, check daily; in cool spring and autumn, every few days is plenty.
Rainwater is ideal. Tap water in hard water areas is alkaline and will gradually raise the pH of the compost, so if you have a water butt, use it. If you must use tap water, flush the pot through with rainwater when you get the chance to wash out the accumulated salts. Water the base of the plant rather than the foliage, and water in the morning if you can, as damp leaves overnight invite fungal problems.
Repotting and Routine Care
Heathers are slow growers, so they do not need repotting every year. Every two to three years is about right, and the best moment is early spring, just as growth begins. Winter heathers can also be moved straight after flowering.
Go up one pot size, no more, or the roots will sit in wet compost they cannot use. Loosen the root ball with your fingers and tease out the outer roots before planting at the same depth as before. If the plant has outgrown the space you can spare, trim the root ball with a knife and replant into fresh ericaceous compost in the same pot.
In between repottings, scrape off the top few centimetres of compost each spring and replace it with fresh. A light feed with an ericaceous fertiliser in spring is enough; heathers are adapted to poor soils and too much food produces floppy, short-lived growth.
Trim after flowering with shears, following the shape of the plant but staying above the old bare wood in the centre. Heathers do not regrow from leafless stems, so never cut back into the brown.
Overwintering Pots of Heather
The plants themselves are perfectly hardy. It is the pot that causes trouble. A root ball frozen solid in a container cannot take up water, and a plant can die of drought in the middle of a cold spell. Winter wet is just as damaging: soggy compost that freezes around the roots is the quickest way to lose a heather.
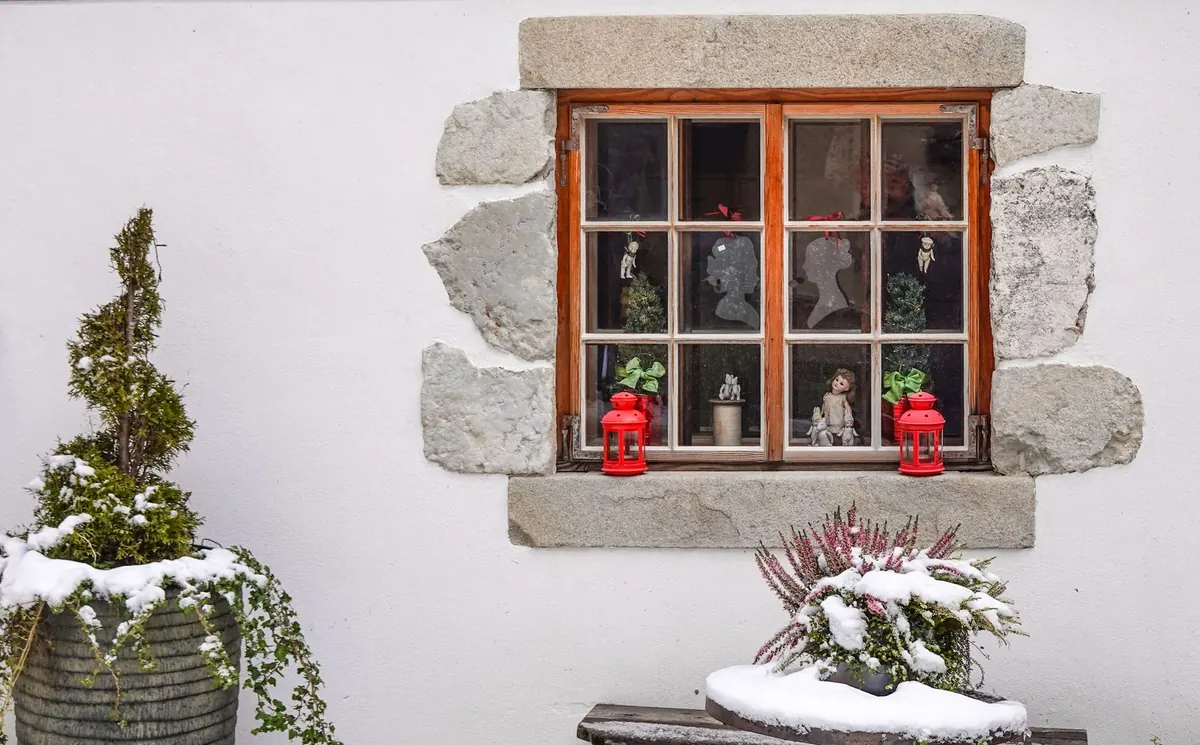
Raise pots onto feet so water drains freely, and move them against a house wall or into the lee of a hedge. Grouping pots together helps, and wrapping the outside with bubble wrap, hessian or an old fleece keeps the root ball a few degrees warmer. In very cold areas, an unheated greenhouse or a cold frame is ideal.
Keep watering through winter, though much less often. A pot under the eaves may get no rain at all for weeks and will need an occasional drink on a mild day.
A Practical First Season
Buy a compact winter or summer heather in spring, pot it into ericaceous compost in a wide container with good drainage, and water it with rainwater when the top of the compost begins to dry. Feed once in spring, trim after flowering, and move the pot somewhere sheltered before the first hard frost.
Get that routine right for one season and the plant will tell you what it needs. A heather that keeps its colour and flowers on schedule is a heather that is happy where it is living.
Photo: freestocks-photos / Pixabay